
Gallery Wall Tips & Tricks
We always get a kick out of seeing how people hang their maps created with CraftOak. We especially love seeing gallery walls where our maps are combined with our pieces of art. So we thought we'd share some of the things we've learned about creating the perfect wall for your gallery.
|
|
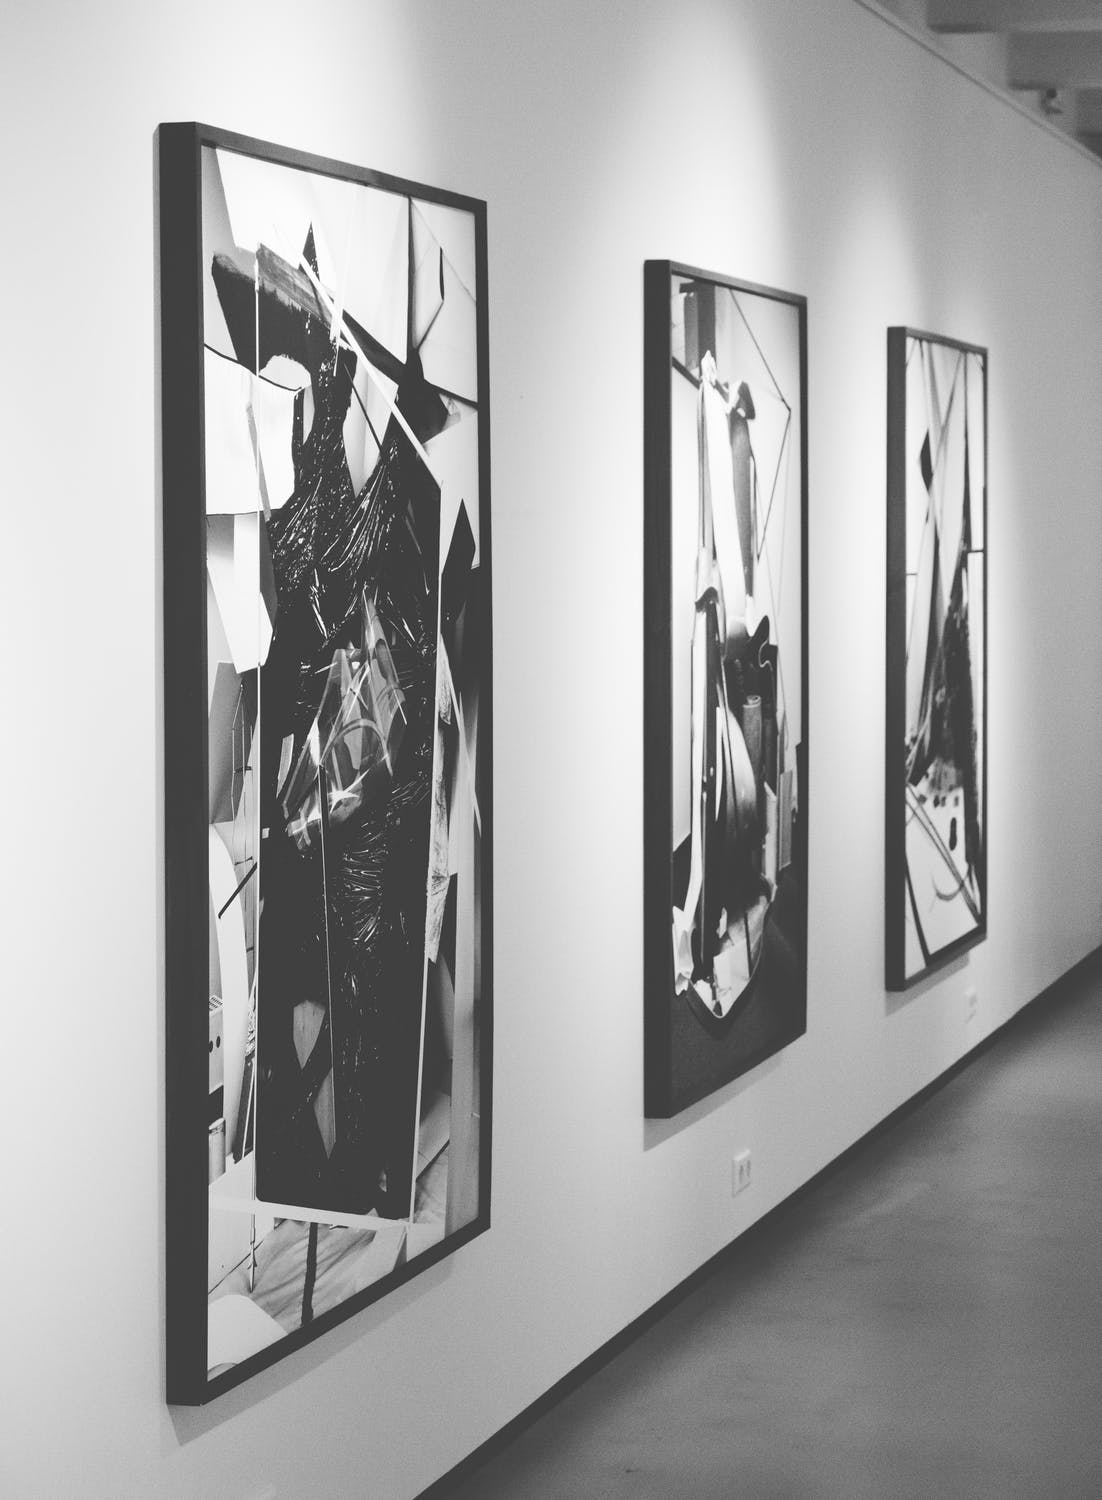
Figure out the spacingGallery walls are an excellent and versatile way to dress up a space and bring some real character to your room.Try to pick a wall that gets a lot of view time. This could be the entrance to your house, a wall in the living room, or meeting space in your office building. Start by measuring up the space and then you can start designing. One thing to keep in mind is the furniture in the room and the color palette of the space in general. This will help you determine what artwork to go for and what colors in the art itself and frame you'll be using. |
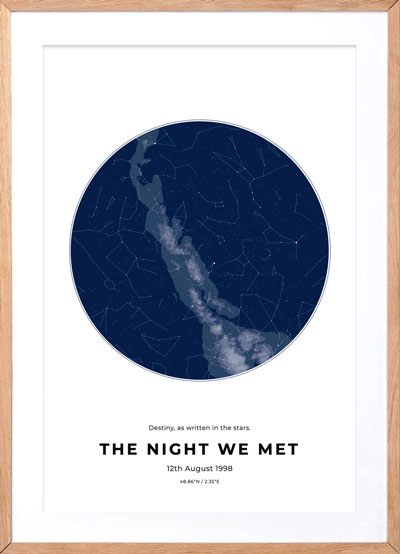
Create a themeYou don't want to spoil your gallery wall by adding in too many elements that don't work well together. This is much easier said than done but the best way to get around this is to think about the type of theme you'd like to have. This can be things like Black and White, Coastal, Natural colours, Light etc.No matter what the theme is though, its also a huge help to always pick pieces that you really love. You can try and find a common thread through these and then expand the art pieces from there. |
|
 |
 |
|
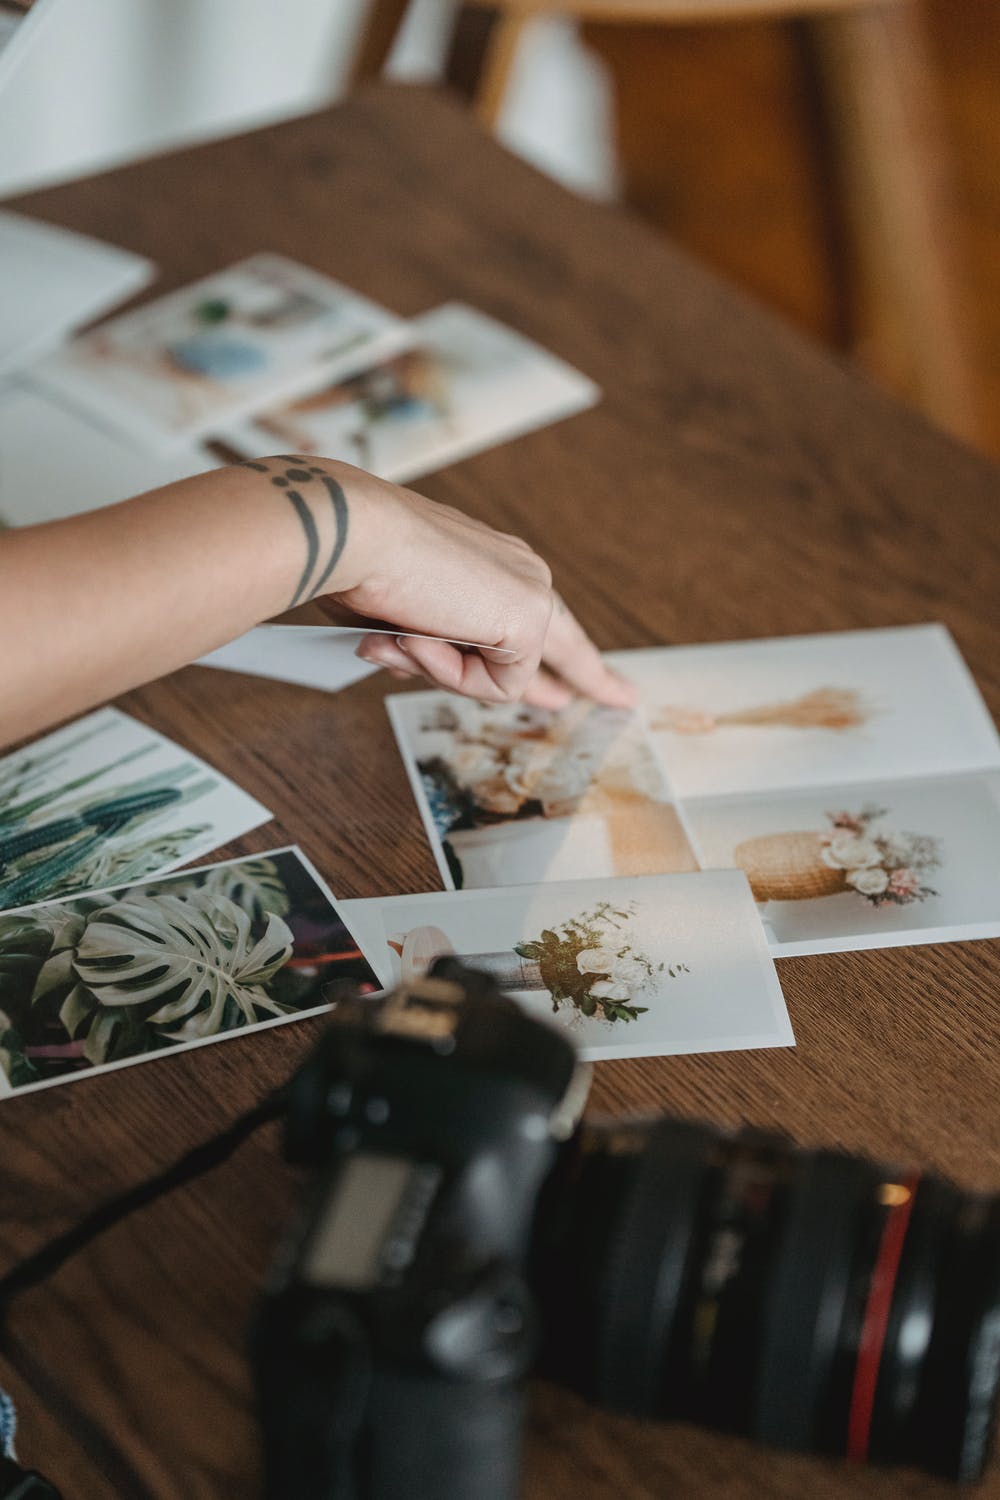
Start DesigningThis is the best part. Most of us have a pretty good idea of what our favorite photos and images are. The great thing about gallery walls is that if you're not happy with your images you can just swap them out in the frame.This brings us to our next point. There are many places to buy frames and you might even have spare ones laying around the house. Gather them all up and if you need some more, consider looking at places like idea to get some good deals. Go through and make a collection of your images. We like to use the Photo app on mac. This way you can see all your images in one spot and see how well they work together. Once you've got all your images together, print them out according to tot he size of the frames each will go in and start hanging! Pro tip: sometimes its handy to do the photo/art selection over a period of a week. This way any you can weed out any ideas that worked initially but don't upon looking at them again later. |
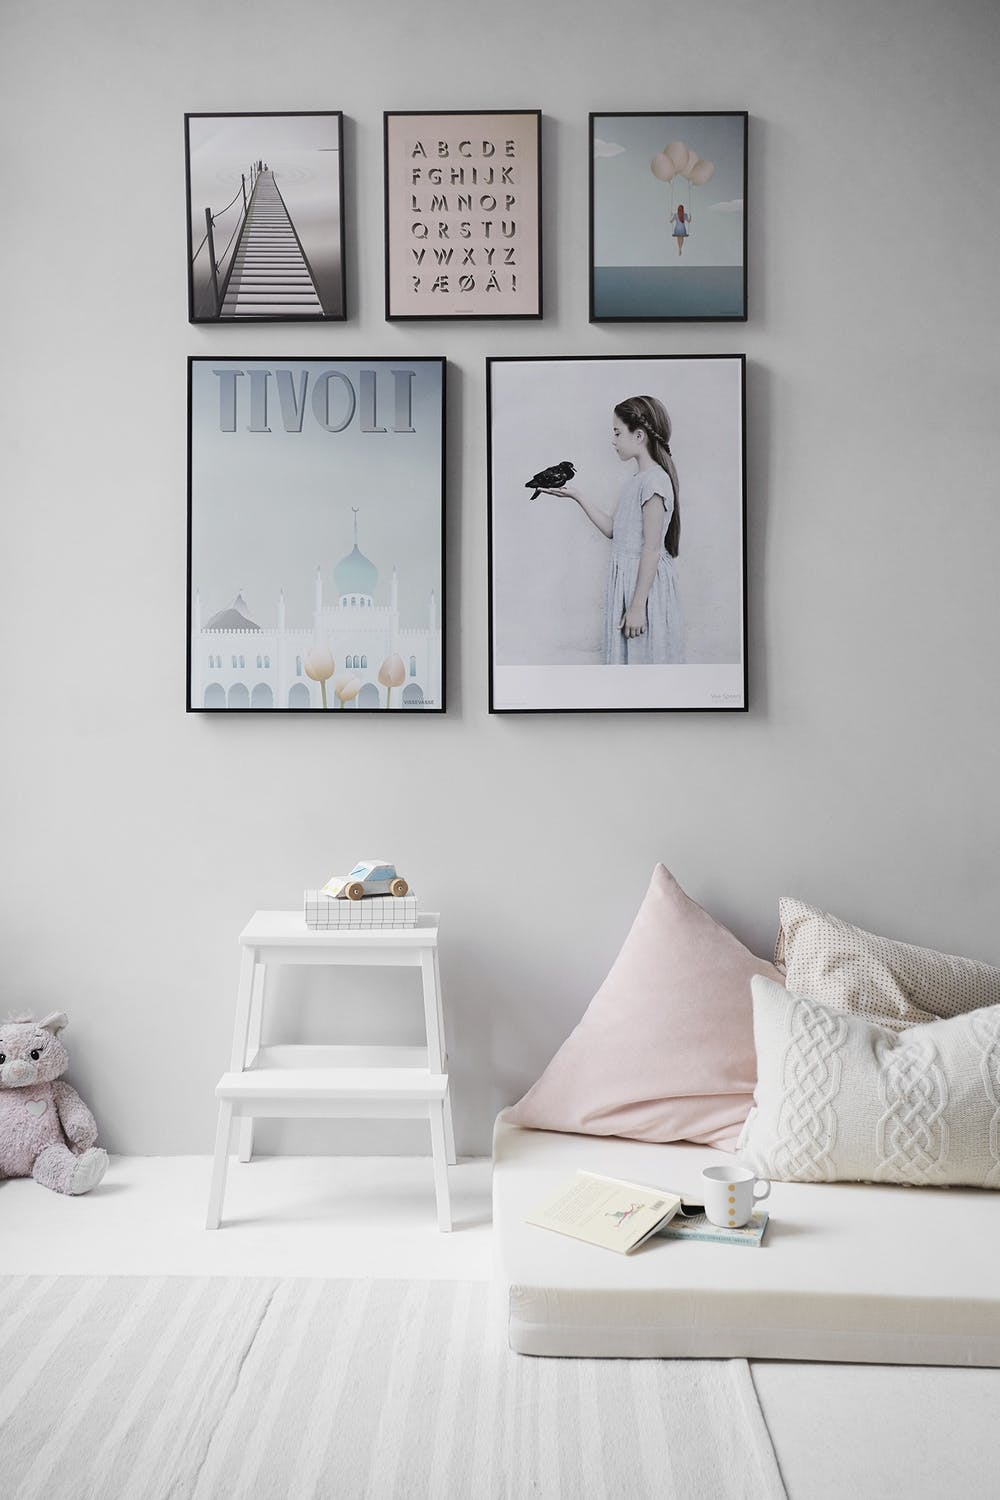
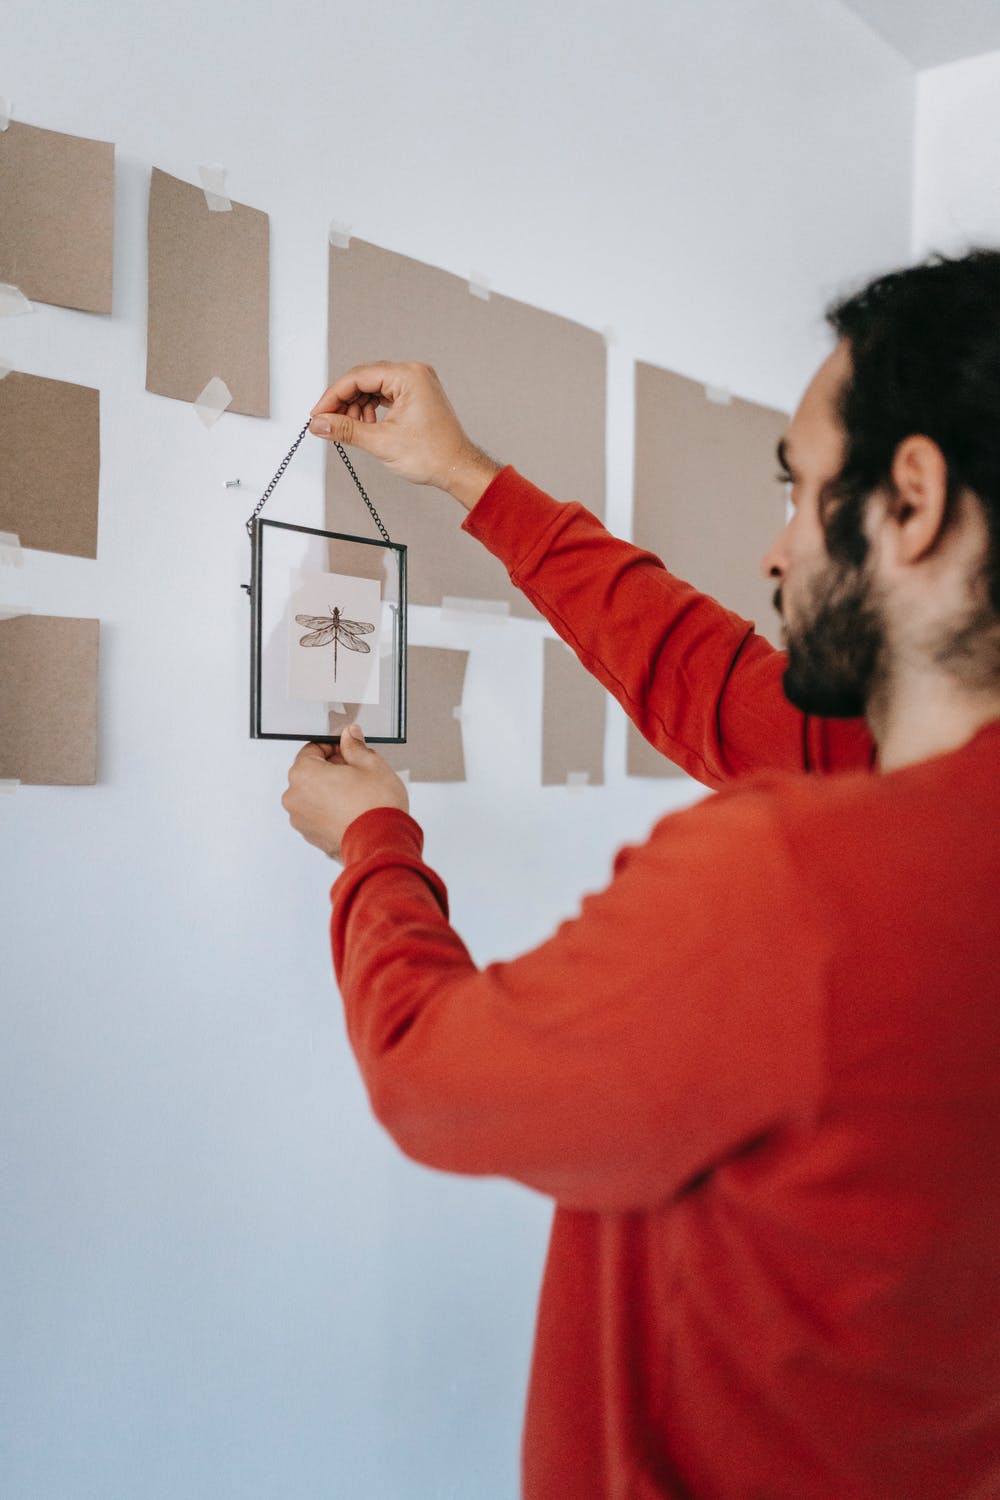
Start Hanging!Before you start putting nails in the wall, know exactly how you're going to layout your wall gallery. The easiest way to do this is on the floor. Or if you're computer savvy, use photoshop but make sure everything is to scale.Layout your frames and see what looks good. You can also add more subtract as you like. You can also rotate frames to landscape portrait though you may need to replace the image if you do this. Sometimes it's easier to start with laying out the larger frames and then fill in the gaps with your smaller images. Pro tip: Most smartphones will have a Leveller app - Use this to make sure that your frames are perfectly level and straight once you do start hanging them up! |
|
|
|
|
|
|