
Step by Step guide to making your own star map - for free.
A Craft Oak star map is an incredible gift that works for any occasion. It's also an amazing piece of home decor that is both great to look at and personal. You've probably seen these star maps all over the internet from Facebook to Pinterest. They are well known and almost a cultural icon!
Did you know that you can actually make your star map for free? It's quite easy and we're going to show you how. Of course, it's much easier to simply order one buy using our editor here however if you're on a budget ( we totally understand ) then follow this guide.
Here is the complete step-by-step guide on how to make your own star map in just 6 steps.
First of all, you need to prepare your materials. Here’s what you’ll need:
- Frame
- Microsoft Word or similar text editor
- Ruler
- Pencil or Pen
- Large paper card, e.g. black or white
- And of course, a computer & printer!
1. Latitude and Longitude
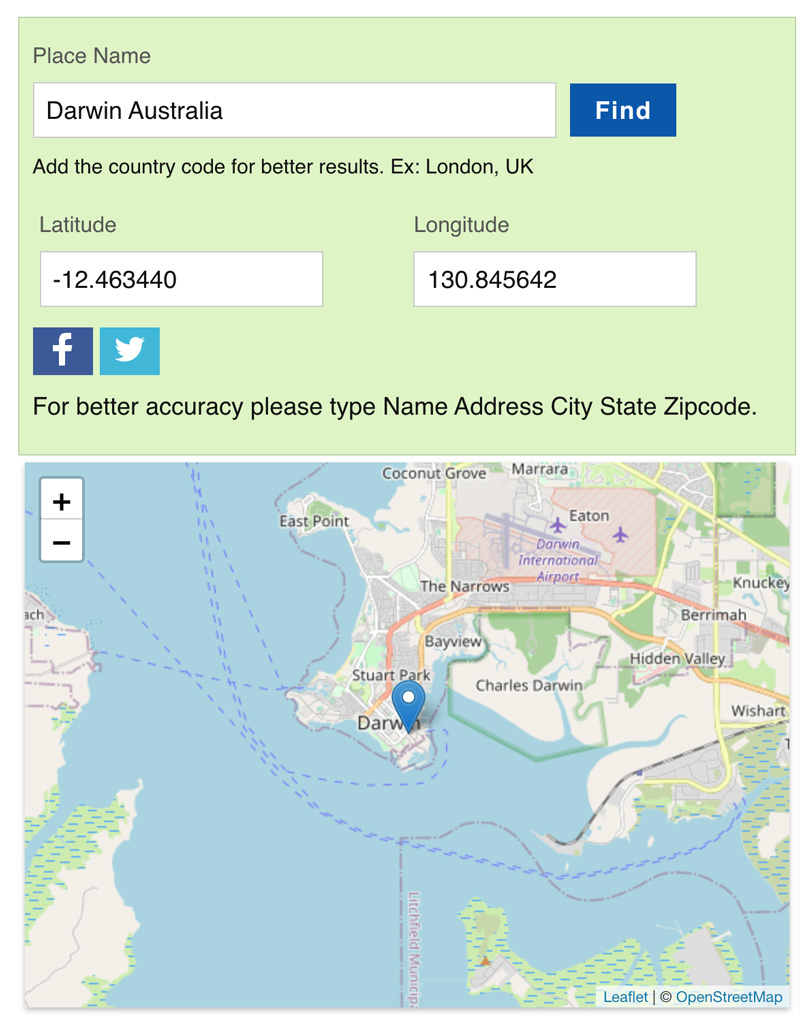
First and foremost, we must get the latitude and longitude coordinates of the location where we wish to map the stars. For the most accurate results, go to this page and type in the city name and postal code. What do you want to symbolize on your star map? This can be any date that is important to you. Simply type the address where that moment happened into the search bar to get the exact coordinates you need.
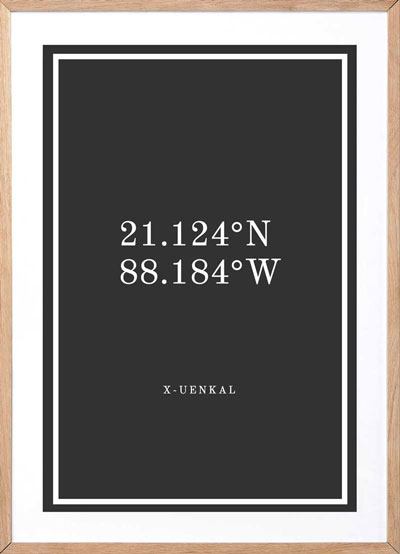
In our case, it is -12.463440 degrees latitude and 130.845642 degrees longitude.
2. Time for Astronomy
And now for the fun part! Head over to fourmillab and enter in those coordinates you got in step 1.
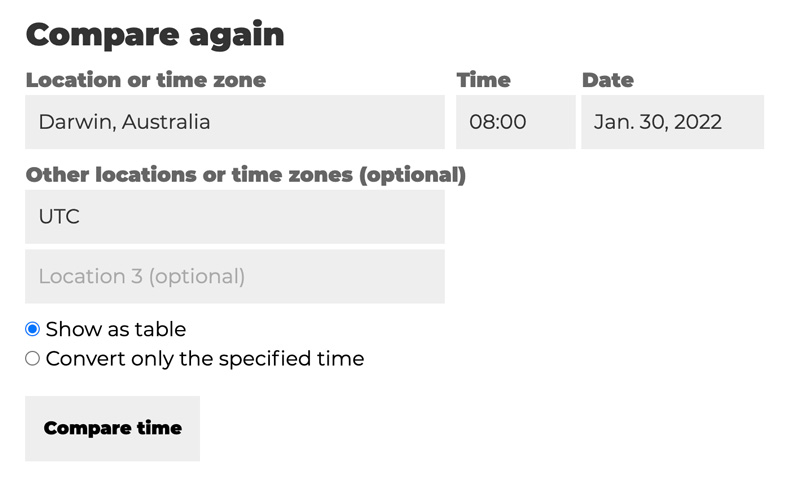
Since this site uses UTC (Universal Time), you'll need to figure out the time zones to match the location of the moment for which you're making your star map for. You can use a site called Time.is and their time zone conversion tool to figure out the time difference between UTC and your location. Just enter your location, choose a date and time, then type UTC in the "Other locations" area and click Compare.
You can use this information to calculate the Universal time of your preferred moment, which you can then enter into the "Date and Time" area of Your Sky.
The coordinates you obtained in Step #1 must now be entered into the "Observing Site" box back in the first website we showed you at fourmillab. To avoid mistakes, copy and paste! Remember to choose North or South for your Latitude and East or West for your Longitude.

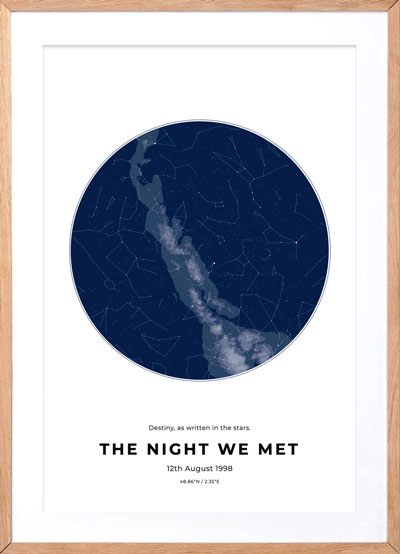
3. Design your star map
Select any additional visual elements you'd want in the options of Your Sky below the date and time entry, and choose a large image size so that when we print it the resolution will keep it crisp. We recommend at least 150 pixels per inch of print width for the best resolution (our star maps at craft oak are printed at 300 DPI).
Is it better to wear white on black or vice versa? It's entirely up to you! To see your star map, make your pick and then hit the Update button situated above the inputs. Make a thorough examination of the data. Is it the correct time and date? Are you certain it was North and not South that you saw? Once you've entered in your information and the star map has updated, right-click the map ( the large circle above the input boxes ) and save that image to your computer.
4. Time to print
If you're printing your star map on your own printer at home, one of the best things you can do is paste it into a Microsoft Word ( windows ) or Pages ( mac ) document or another text editor. We suggest using the page presets that appear when you chose to start a new project. This is usually A4, A3, A2 etc. Pick on and then insert the star map that you saved previously.
Now comes another fun part. Adding in text. There are many ways you can do this so we suggest jumping onto Pinterest and searching for various different star maps to get an idea of how other people are making theirs. Once you've found a layout you like, try and replicate this in your word program.
Once you're done and it's looking great, press print! Otherwise, if you're happy to fork out a little money, you can save it as a PDF and take it in to your local printing shop or order it online. This way you can get some higher quality paper and inks other than what you have at home!
5. Frame it!
And now for the final stage of framing. You'll need to find a frame that fits. the piece of paper that you chose to print your star map onto. Maybe you have one at home that you had ready to go, or you may need to order one online. The options vary greatly and it really is a matter of choice as to what you think works best in the space you plan to hang this map in. Ikea has a fantastic selection of minimalist frames that are very affordable. Maybe try there first!
We hope you enjoyed this guide on mapping a starmap for free. If you have any suggestions or questions please contact us.